Saturday 21 December 2013

New bits, and refreshed bits

Just in time for Christmas, a box of nice new (old stock) parts!  Exhaust, exhaust shield and mud flaps.


The most exciting bit though is getting the frame, forks and swinging arm back from coating.  It's a really nice job and a good colour match too, I'm very pleased.  So the next step will probably be to fit the cleaned and repaired wiring loom to the frame, ready for fitting the forks and swinging arm.


Saturday 14 December 2013

The good old days...

Whilst I sort out powder coating, painting, vapour blasting and plating of various bits I've been doing a bit of idle browsing on Google.  I've found some great photos of C110's in action from back in the '60's.  I particularly like this one, from a blog called Chalopy.  It's of an AMA rider called Steve Nichols in action in 1967 at a race in California.  Check out the lack of a front brake, and the pretty decent wheelie from a bike running a 55cc big bore!


There are also some period race photos, see below, and other C110 info on the R4L blog.


There's some good information on C110 racers on the HondaClassicRacing blog too.

Monday 9 December 2013

Ready for cleaning.

All engine parts have been removed from the cases.  I've given the cases a wipe out and they're now in the pile of bits waiting for vapour blasting. 

I like gearboxes.  There I've said it.  I always 'lose' a half hour or so when working on an engine having a play with the gearbox.  The mechanical action of selecting the different gears fascinates me.  I have a mind to take some of the numerous spares I have accumulated and make myself a desk toy for work out of them.  Beats a Newton's Cradle!


With the cases split but with the crank still fitted you can see the dipper used to lubricate the engine internals.  It protrudes from the bottom of the crank and scoops up oil, flinging it onto the gearbox internals.  Like a lot of the engineering on this bike, it's simple but effective.


Sunday 8 December 2013

All apart!

An hour and a half spanner twirling in the garage this evening, and the end result?  The crankcases are apart!


Right tool for the right job.  Makes life so much easier!  Luckily I could use the same puller as I use on my 350LC.


 The stator plate had obviously been off before, the fasteners were quite chewed.


Removing the stator plate showed that the crankseal had been leaking, not a surprise after all these years.  It may well have been fine when it was last run properly and started leaking as the rubber hardened with age.


Next job, lifting out the crank and gearbox and tidying up the cases ready for vapour blasting.


Overall it's been a pretty straightforward disassembly.  What it has brought home to me is the importance of using the proper tools.  The impact driver, clutch holding tool and the puller have all saved me a lot of grief.

I also need to source new rubber seals and bearings, although the latter feel OK it seems shortsighted to not replace them.


Saturday 7 December 2013

More surprises.

I found the time to take the engine disassembly further this evening, starting with stripping down the clutch side of the engine.


With careful application of an impact driver the case bolts loosed up nicely, allowing the innards to be exposed for the first time in 50 years, or so I thought.


Removing the clutch pushrod revealed that the clutch hub nut has been off at least once in the past.  It'd been exposed to a fair amount of abuse in the process as well.  I was surprised by this as there is little external evidence that the engine has been apart before.  In addition I didn't think there would have been much cause for it to be apart in 10,000 miles.  However, I guess it all depends on how well it was looked after for those miles. I took a more measured approach to removing the nut, with the correct special tool and a clutch holding tool to stop the assembly from rotating.


The abused clutch nut, not my fault honest!


So, next I need to check the clutch plates, and continue the disassembly of the clutch side of the engine.  A job for tomorrow.


Monday 2 December 2013

Broken bits of metal

With the rolling chassis all apart and off for refinishing I've turned my attention to the engine.  I'll be performing a full strip down on it so that I can be confident in it's reliability during the National Rally next year.  Being a bit tired after work (and it's only Monday!) I set myself the easily achievable target of removing the top end (rocker box, cylinder head, barrel and piston).

No surprises with the rockerbox removal, apart from the gasket between it and the cylinder head.  It was so think it looked like carpet underlay!


The cylinder head was an easy removal too, uncovering a slightly coked up piston and very oily bore.  The latter has me thinking that a rebore and new piston maybe in order.  Fortunately I have six spare barrels and at least as many pistons.  Hopefully there'll be a match in there somewhere.  A job for another evening.


Next to come off was the barrel.  It has some discolouration in the bore and some light scoring, but it isn't too bad apart from one scratch.  Looking at the piston though, it was immediately apparent that the gudgeon pin circlip had been poorly fitted on one side.  It wasn't sitting fully in the groove in the piston and, when removed, was oval after all the years of sitting in the incorrect position.  The next thing to happen was the biggest surprise though, and underlines the importance of performing a full strip down on restorations to give a known quantity in terms of the engine.  The main piston ring fell off!  So the top ring was broken (which probably explains the scratch in the bore).  Maybe starting her up at the very beginning of this project wasn't such a good idea!  The broken ring probably explains the oiliness of the combustion chamber as well.


So with a few nasties uncovered, it's time to call it a night.  Lots more investigation to come and I'll be especially careful in my inspection of the rest of the engine.  Although the engine cases haven't been off it has clearly been exposed to a bit of abuse in it's 10,000 odd miles.

Wednesday 27 November 2013

Dilemmas.

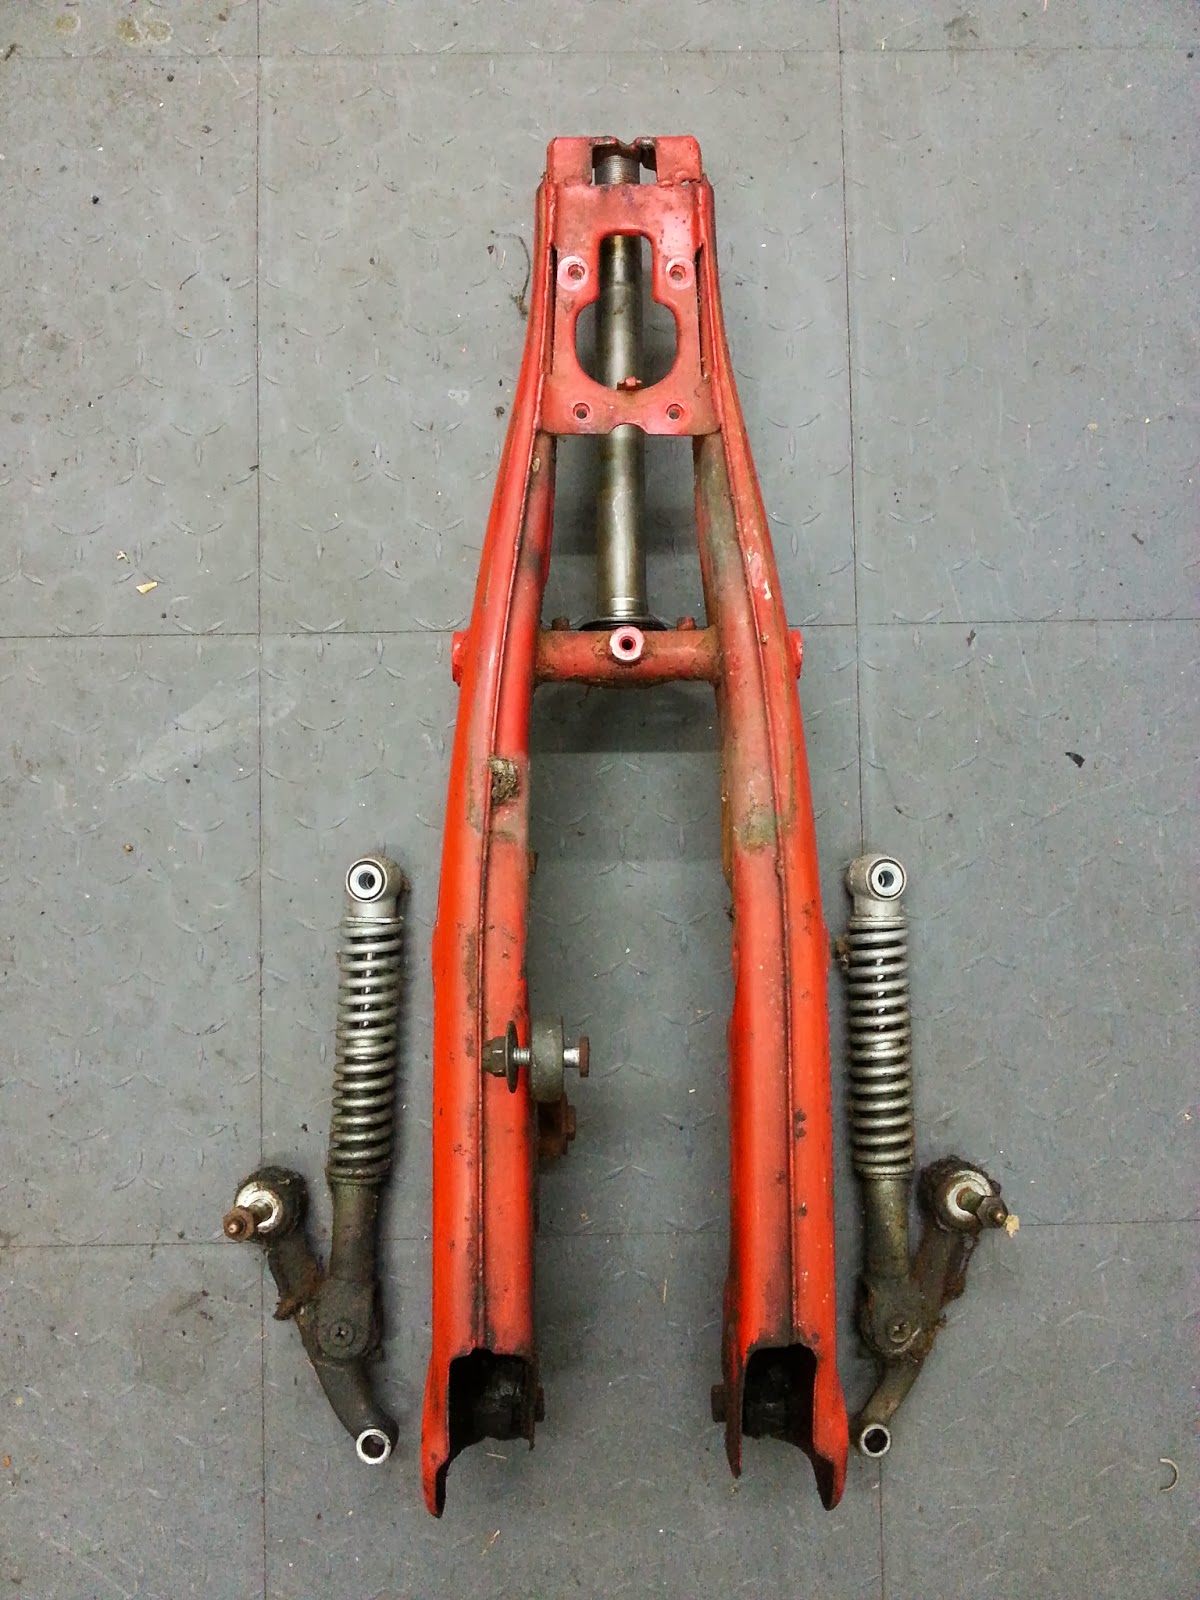
Well, there's not much to show for it but I have been busy over the last few weeks.  The frame, forks, swinging arm and tank (plus a few other bits) are now off for blasting.  Once the old paint is off it'll be time to decide on whether to paint (expensive but the best finish) or powder coat (cheaper, so much cheaper!).

I've decided to get the original plastics painted.  As standard they're colour impregnated plastic and I really wanted to keep the finish as close to original as possible.  However, if I have any parts powder coated then the colour will have to be a RAL code and there isn't one that is an exact match to the original colour (Honda R-2 Scarlet).

One of the main dilemmas with this project is how far to take the restoration.  I often find myself tempted to go for a "concours" restoration, to make the machine as good as when it left the production line, as this should fetch the highest price.  But I need to trade off the desire to raise as much money as possible for the charity with the fact that I'm funding this myself and that there is a law of diminishing returns as a restoration approaches a "concours" standard.

Trying to find that balance affects all aspects of the restoration.  The finish on the chassis, paint versus powder coat, is one example.  Another is the exhaust, mentioned in an earlier post.  I've not managed to find a single example of a C110 silencer (or muffler for our transatlantic friends) in Europe.  I've found a couple in the US, however finding a company willing to ship to the UK appears to be difficult.  Even then there is a choice to be made.  Do I buy NOS Honda part, at ~$300, or do I buy a NOS pattern silencer (made in the '60s) at ~$100?  Once the silencer protector is fitted (don't get me started on trying to source a good example of one of these!) then will anyone notice the finish on the silencer itself anyway?  Although I'm led to believe the pattern silencer is a pretty good reproduction...

In other news, the new wheel rims and spokes have arrived.  The hubs are sitting in a box of bits ready to go off for vapour blasting, they are filthy but I'm assured they'll come up as new.  Fingers crossed!

I am hopeful that by Christmas I should be able to start building up the rolling chassis, we'll wait and see...


Tuesday 12 November 2013

Tyred out.

Removed the tyres from the wheels tonight, in preparation for rebuilding them.  The rear tyre is a late 60's Avon, not in too bad condition considering it's age but no good for using anymore.


The hubs look as if they may clean up OK, a bit of elbow grease and there appears to be unpitted aluminium underneath.  The spokes and rims are only fit for the bin though.


So the question is, do I attempt to rebuild them myself or spend a bit more money and get a wheel building specialist to do them?  How hard can it be?! 


Thursday 7 November 2013

Shiney, shiney...

Little real progress to report, I'm not yet up to spending an evening in the garage after a day at work.  However, some New Old Stock (NOS) parts have been turning up!  Something about motorbike parts in their OEM wrapping makes me very happy.

Saturday 26 October 2013

Small steps

 
I've had a bit of an unplanned break from restoration activities, due to a couple of cracked ribs which I acquired in a disagreement with a car on the daily commute. 
Still, I have made good use of the evenings researching where I can get a number of the parts that I require.  It seems that the U.S. is the place to go for parts for these bikes.  Nothing really crops up in the UK and Europe, from what I can make out.
 
I've drawn up quite a list of bits, time to get spending!
 
#ProstateCancer  #Honda


Sunday 13 October 2013

Strip down complete...

Swinging arm out, wiring loom removed.  Just the ignition switch and rear mudguard left, but I'm claiming the disassembly is complete.

 
Next need to sort through the parts and see which need plating, or simply throwing away.

Saturday 12 October 2013

Fork off!

Spent an hour in the garage this afternoon, to get the forks off.  Pretty easy disassembly, and true to form, everything is in generally good order.

The grease on the races had dried out a bit, but the races are in good condition, definitely re-useable.


The suspension itself came apart nicely, just needs a clean and a re-grease be for reassembly.  Might use this as an excuse to buy a parts washer!

Wednesday 9 October 2013

Rot...

Initially the exhaust looked in OK condition, but when I took it off it was clear it was anything but.  Because of the angle of the exhaust when it's fitted on the bike it is prone to collecting water.  Honda foresaw the problem with this so fitted a drain hole and pipe.  Unfortunately the hole was completely clogged so, I'm assuming, the exhaust had sat with a significant amount of water in it.  Even the baffles have rotted inside.


Unfortunately exhausts for these are like hen's teeth.  So I need to formulate a plan for a repair, the metal is pretty thin but I'm hopeful there is a way.

Sunday 6 October 2013

The strip down

Knowing that the bike would run I started on the strip down.  First up, removal of the engine.  It's a compact little unit and I'm quite looking forward to getting it apart.  The cases are in a state but will hopefully come up looking good with a bit of effort.


As I've slowly been disassembling the bike I've been amazed at how easy it has been.  The quality of the bolts and fasteners is very good, and there has been very little corrosion over the years. 


Overall the condition is in keeping with the mileage, and there is little evidence of previous disassembly apart from where the wheels have been removed to fit tyres etc.  The front wheel did have an innovative replacement for a split pin on the axel nut though!


Thursday 3 October 2013

It's alive!

Before starting a full strip down I thought it would be interesting to see if I could get the red C110 running in it's current state.

After a quick clean of the carb, and about 50 kicks, it fired up!


Wednesday 2 October 2013

Adding to the collection

A couple of weeks after getting the C110 back home I had a reply to a wanted advert that I'd placed in Preloved.

Three days later I was unloading a van full of small Honda parts!  As well as a 75% restored C114, I'd acquired a C110 in parts and a stack of other spares including two engines.


After much mulling over, a plan formed.  Restore the original red C110, then the black C114 and sell the parts that I don't use.

The beginning...

Back in July I managed to find just what I was after on Ebay.  A 1963 C110 Honda, in need of some serious TLC but complete and ready for restoration.

With a bit of help from my good friend Nick, and the boot of his Mondeo, it was liberated from the middle of London.


Going over it, back at home, it was clear that some parts were in generally good condition.  The chassis finish and the tank weren't too bad.  However, some other parts were in a terrible state.  All the chrome parts were badly corroded with the underlying metal very pitted, basically a write off.  Still I was confident that I'd be able to slowly source the parts I needed from Ebay and the like.


A nice little discovery, at the back of the tax disc holder, was the last two tax discs.  With 10,230 miles on the clock I can well believe it hasn't been taxed since 1970.